 Finishing guide
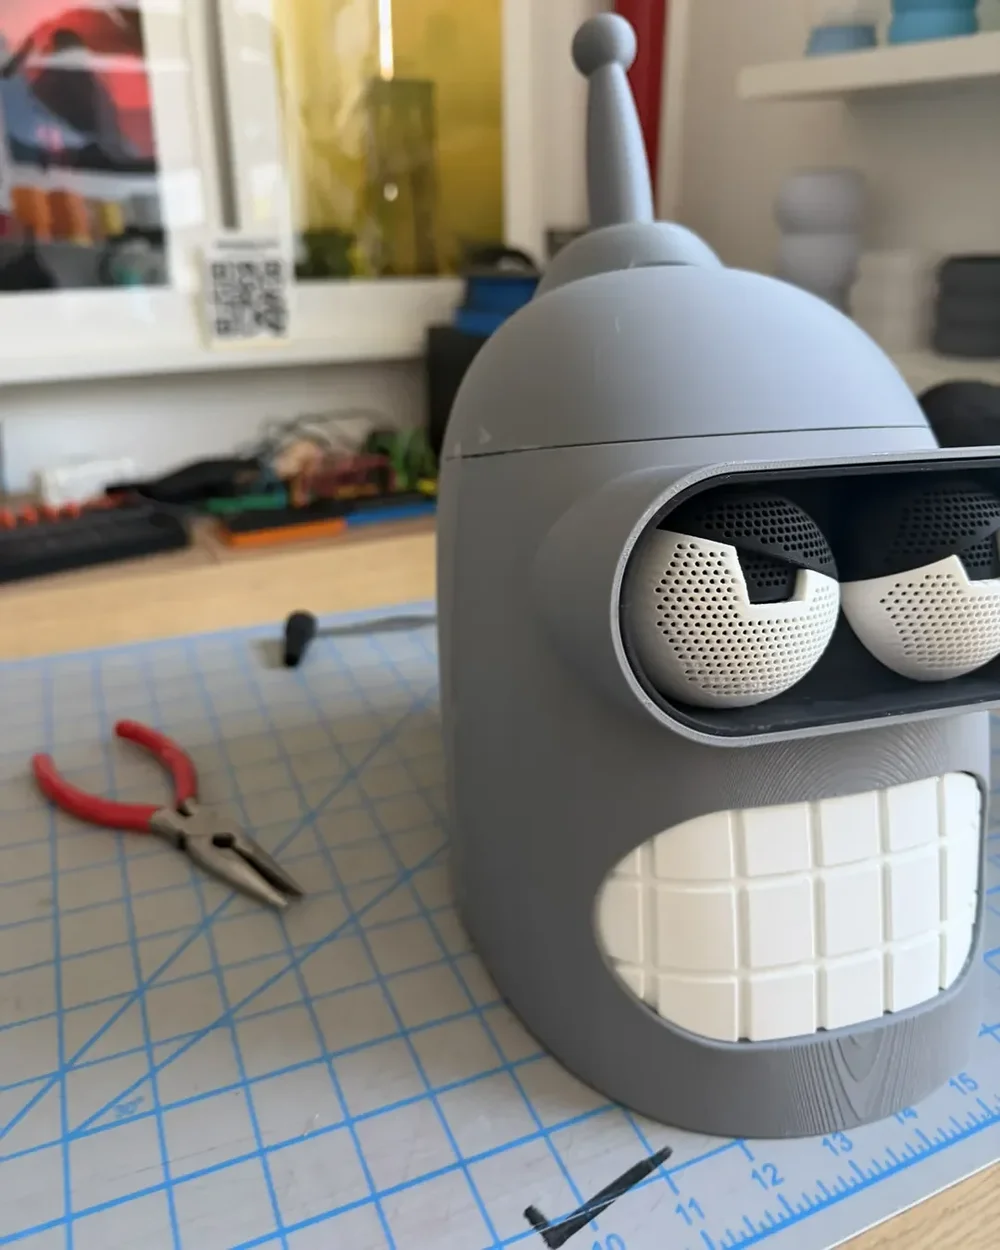
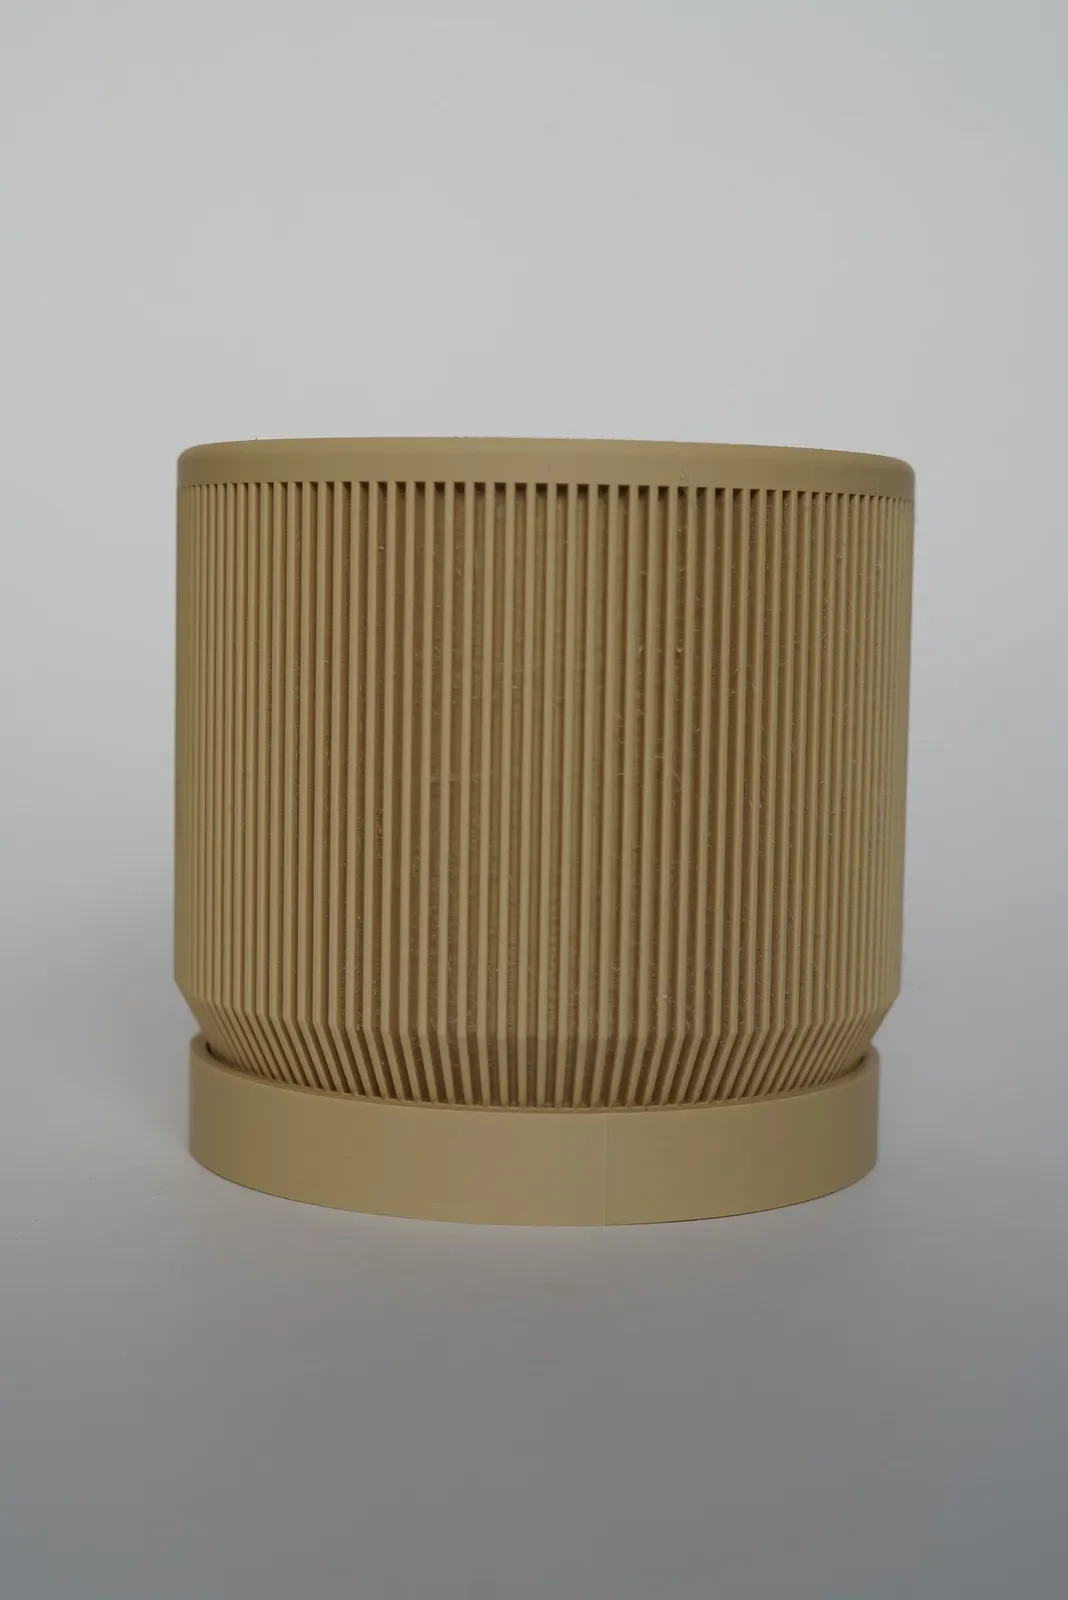
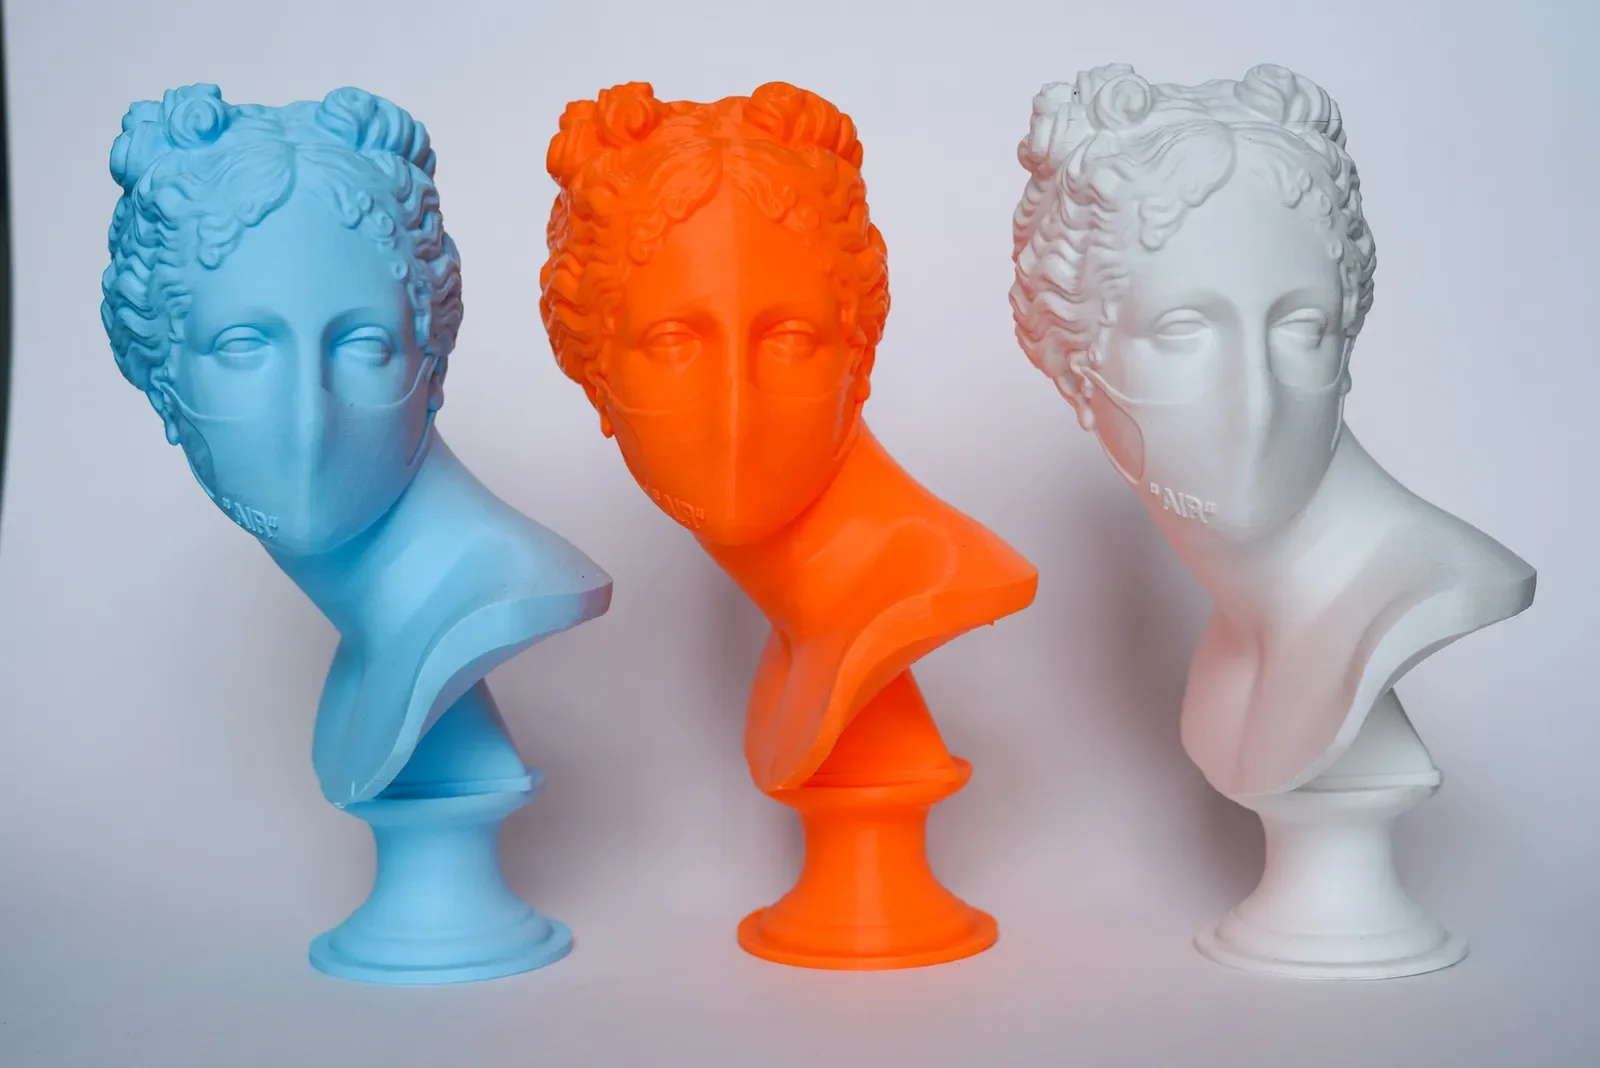
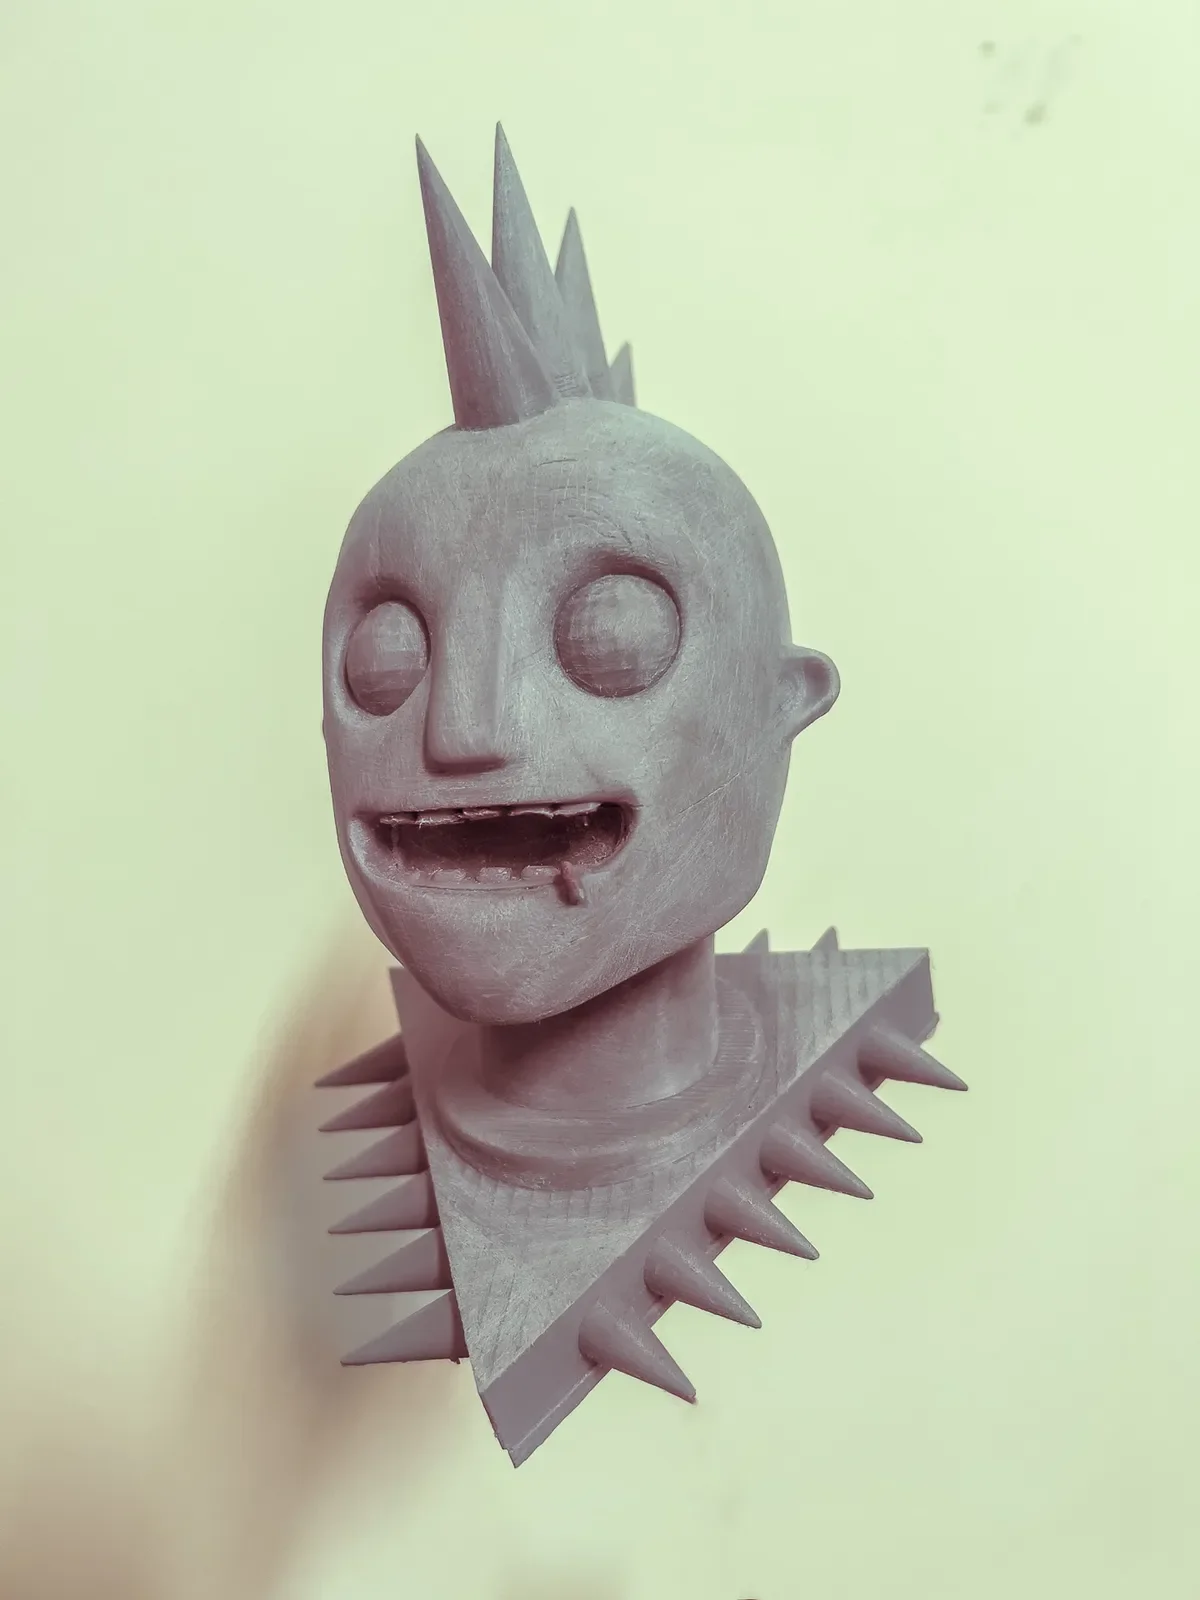
A good paint job is what makes a 3D print look like a finished object instead of plastic. Whether it's a cosplay helmet, a figurine or a prop, the process is the same: clean, sand, prime, paint and seal. Here's how to paint 3D prints step by step, and how to choose a filament that makes the job easier.
Quick answer
The short answer
To paint a 3D print: remove supports, sand the surface smooth, apply a filler primer, paint with acrylics or spray paint, then seal with a clear coat. Primer is the step most people skip, and it's the one that makes paint stick and hides layer lines.
PLA and PLA Matte are the easiest to paint. PETG and TPU are trickier and need more surface prep.
01
Prep: clean and sand
- Remove supports and trim strings with a hobby knife or flush cutters.
- Wash off oils with soapy water or isopropyl alcohol so primer sticks.
- Sand in stages. Start around 120–220 grit to knock down layer lines, then move to 400 and up. Wet sanding keeps dust down and gives a smoother surface.
- Fill gaps. Use filler putty on seams, holes and joins between glued sections.
Don't sand too hard in one spot. Friction heats the plastic, and PLA can soften and smear.
02
Prime
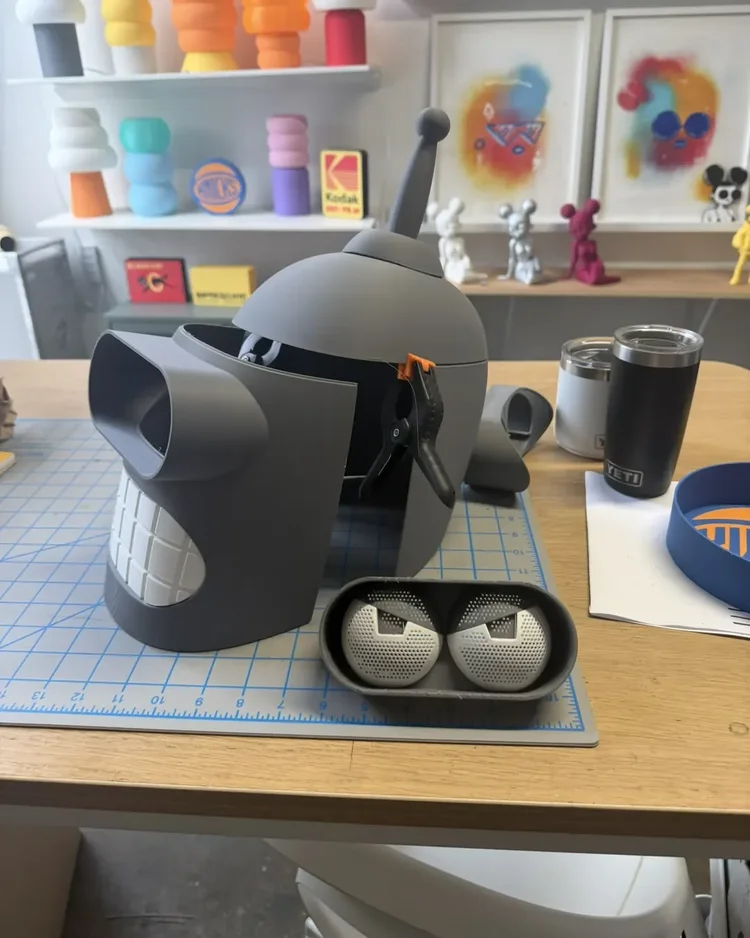
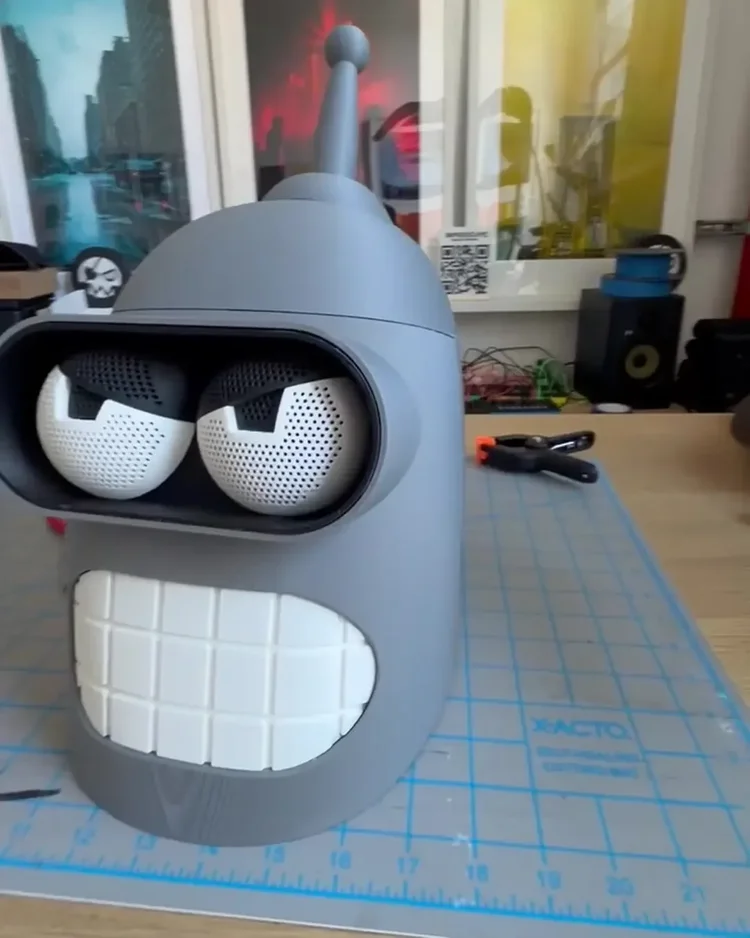
Primer gives paint something to grip and shows you every flaw. A filler primer (sometimes called sandable primer) is ideal for 3D prints because it fills fine layer lines.
- Spray light, even coats from about 20–30 cm (8–12 in) away.
- Let it dry, then sand lightly with fine grit.
- Repeat two or three times until the surface is smooth.
Prime in grey for most colors, black under metallics, and white under bright colors.
03
Paint
- Spray paint is fastest for large, even base coats on helmets and armor.
- Acrylic paint by brush is best for details, figures and small parts.
- Airbrush gives smooth gradients and is worth it if you paint a lot.
Build up thin coats rather than one thick one. Then add depth: a dark wash settles into recesses, dry-brushing catches edges, and weathering with sponges or pigments makes props look used and real.
04
Seal
A clear coat protects paint from scratches, handling and UV. Choose matte, satin or gloss to match the look. For wearable pieces like helmets and armor, a couple of coats of a flexible clear coat help prevent chipping at the edges.
05
Choose a filament that saves work
| Filament | Painting notes |
|---|---|
| PLA Matte | Hides layer lines, takes primer well. Our first choice for painted pieces. |
| PLA / PLA Tough+ | Sands and paints easily. Tough+ handles knocks on wearables. |
| PETG | Slick surface. Scuff it well and use a primer made for plastic. |
| ABS / ASA | Sands well and holds paint. Good for outdoor props. |
| TPU | Flexible, so rigid paint cracks. Use flexible paints or leave it raw. |
Sometimes the best paint job is none at all. Silk, metal and marble PLA look finished straight off the printer.
06
Printing and finishing at IMPRESO
We print in-house in Ridgewood, Queens. Tell us whether you'll paint the piece yourself and we'll pick a filament that's easy to finish. For cosplay builds, props and display pieces, ask us about finishing. Every job is quoted individually.
Start a 3D project
Send your file or idea and tell us how you'll finish it. We'll recommend a material and quote it.
Start a 3D project → See 3D printing →More guides