 Cosplay guide
3D printing has changed cosplay. Helmets, masks, armor and props that used to take weeks of foam work can now be printed with crisp detail and a perfect fit. Here's how 3D printed cosplay pieces are made, which materials to use for each part, and how to finish them so they look real on the convention floor.
Quick answer
The short answer
3D printed cosplay means modeling a helmet, mask, armor piece or prop, printing it in plastic, then sanding, priming and painting it. Large pieces are printed in sections and glued together.
For most builds, PLA Tough+ is the best all-rounder: easy to finish and far less brittle than standard PLA. Use PETG or ASA for parts that face heat, TPU for flexible straps and edges, and PLA Aero when weight matters.
01
What you can 3D print for cosplay
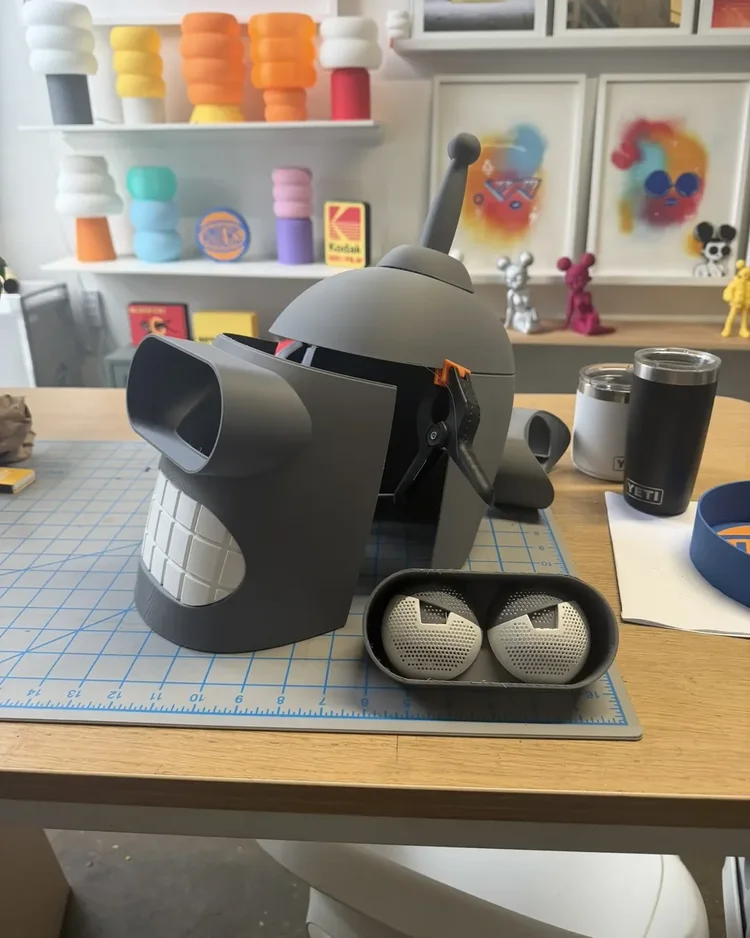
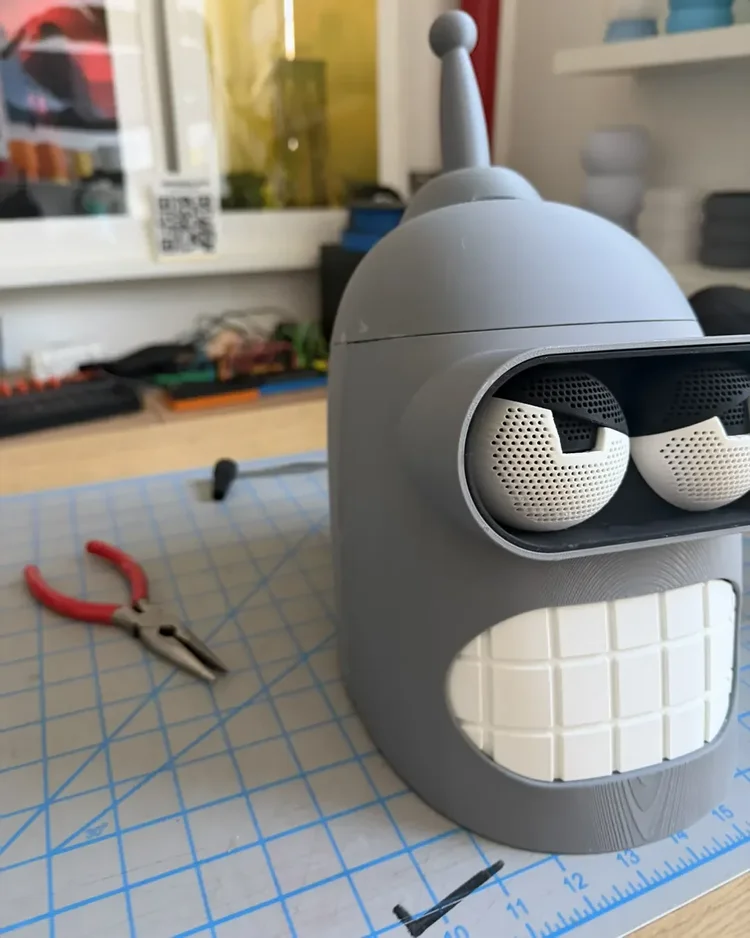
- Helmets. Full sci-fi, robot and armored helmets, split into sections and joined.
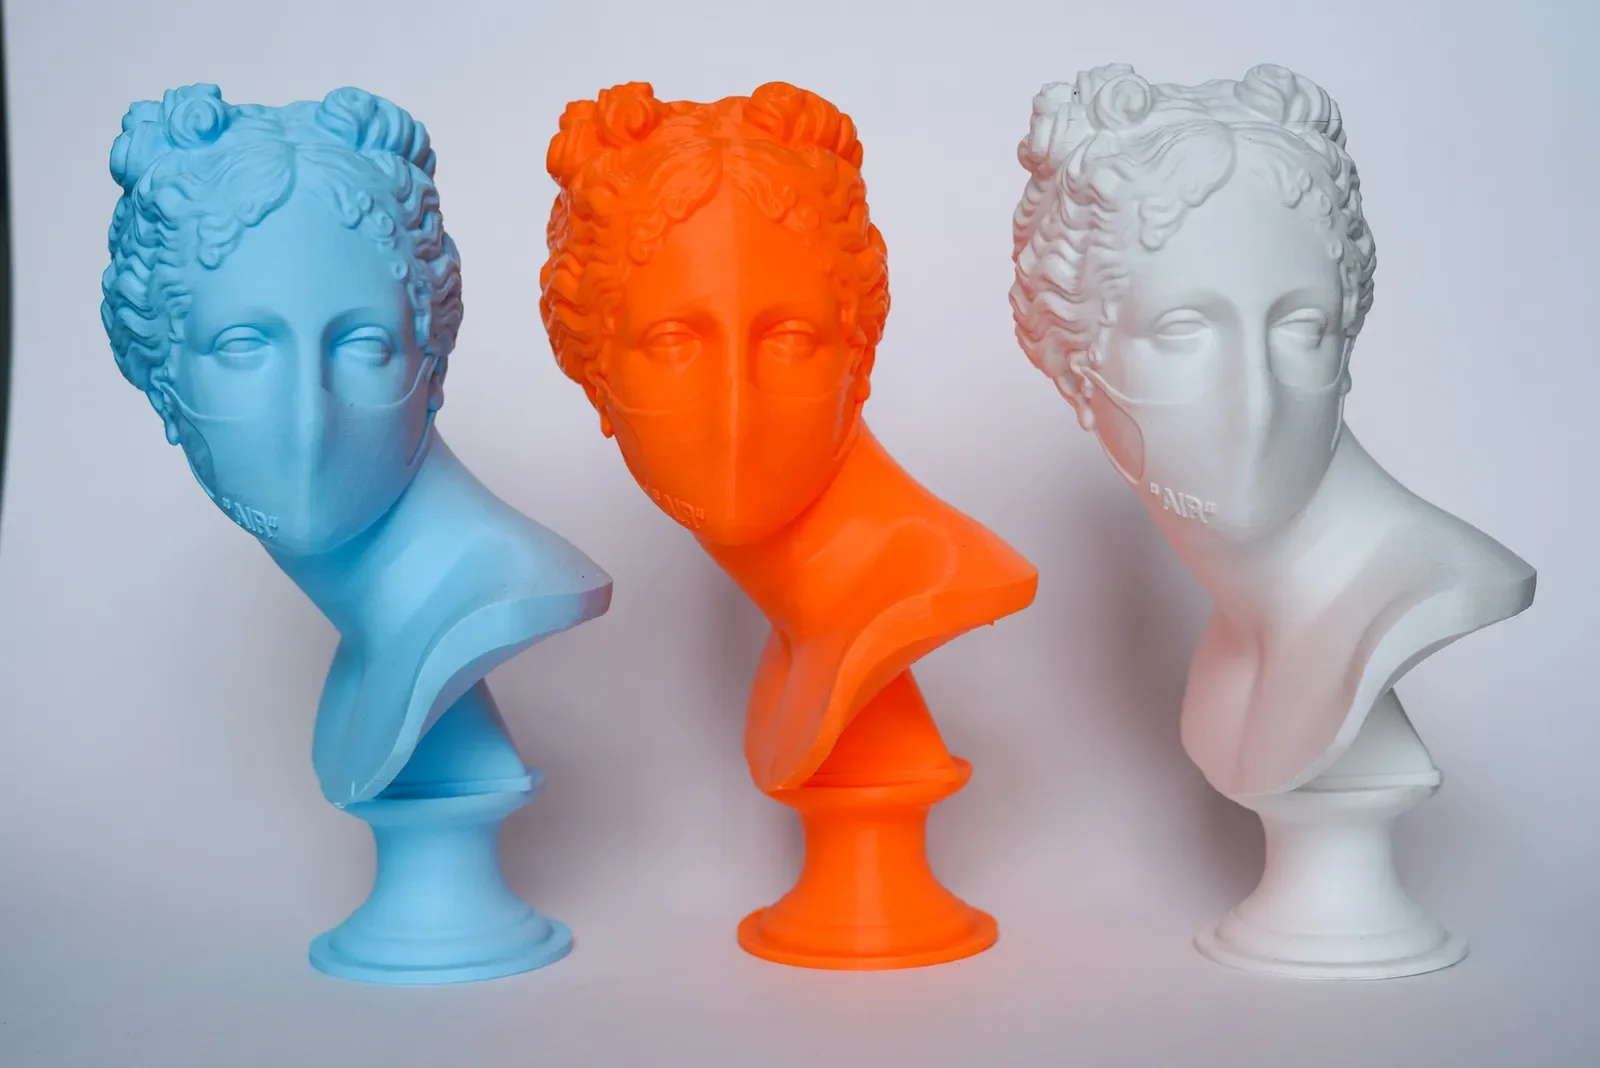
- Masks. Oni, demon, animal and masquerade masks, with eye openings and strap points built in.
- Armor. Gauntlets, pauldrons, chest plates and greaves, fitted to your measurements.
- Props and weapons. Blasters, swords, staffs and gadgets, often with a hidden metal rod for strength.
- Small details. Badges, buckles, jewelry, horns, ears and emblems that are hard to sculpt by hand.
The big advantage over foam is precision. Hard edges, mechanical details and symmetrical shapes come out exactly as modeled, and you can print a second copy if something breaks.
02
Which filament for which part
Different parts of a costume need different things. Here's how we match materials, with numbers from Bambu Lab's own tests.
| Part | Material | Why |
|---|---|---|
| Helmets, masks, armor | PLA Tough+ | About 3× the impact strength of PLA Basic, still easy to sand and paint |
| Display pieces, fine detail | PLA Matte | Hides layer lines, so less sanding |
| Big, light pieces | PLA Aero | Foams as it prints, roughly half the weight of solid PLA |
| Parts near heat or sun | PETG or ASA | Heat deflection of 69°C (PETG) and 100°C (ASA) vs 57°C for PLA |
| Straps, flexible edges, gaskets | TPU | Rubber-like, stretches over 600% before breaking |
| Glowing eyes and light-up parts | Translucent PLA | Diffuses LEDs into an even glow |
A note on heat: standard PLA starts to soften around 57°C (135°F). That's hotter than a convention hall, but a car trunk in summer can get there. If your build will travel in a hot car, choose PETG or ASA, or keep it out of the sun.
03
Sizing, splitting and fit
Most helmets and chest pieces are bigger than a printer's build area, so they're cut into sections in software and printed separately. Good splits follow natural seams in the design, which makes the joins disappear after finishing.
- Measure first. Head circumference, ear-to-ear over the top, and face width for helmets. Arm and leg measurements for armor.
- Add keys. Small pins or tabs on each cut line help pieces line up when gluing.
- Plan the openings. Eye slots, mouth vents and strap points are easier to model in than to cut later.
- Think about weight. Thinner walls and lighter materials keep a full helmet comfortable for a long con day.
04
Finishing: sanding, priming and painting
Finishing is what turns a print into a prop. The basic process:
- Clean up. Remove supports and trim any stringy bits.
- Glue and fill. Join sections with a strong glue, then fill seams and gaps with filler putty.
- Sand. Start around 120 grit and work up to 400 or higher. Filler primer between rounds fills fine layer lines.
- Prime. A smooth, even primer coat shows anything you missed.
- Paint. Base coats, then weathering, washes and dry-brushing for depth. Metallics work best over a black base.
- Seal. A clear coat protects the paint from scuffs and handling.
For the full process, see our guide on how to paint 3D prints. Choosing a matte filament up front can save a round or two of sanding. For display pieces, a clean raw print can also look great on its own.
05
Making it wearable
- Padding. Foam pads inside a helmet keep it steady and comfortable.
- Straps and fasteners. Elastic, buckles, magnets and snaps hold armor in place. Print mounting points into the design.
- Visibility and airflow. Mesh or tinted lenses over eye openings, plus hidden vents, make a big difference after a few hours.
- Convention rules. Many events have prop weapon policies, like no hard tips or realistic firearms. Check before you build.
06
3D printing for cosplay at IMPRESO
We print cosplay pieces in-house in Ridgewood, Queens: helmets, masks, armor, props and small details. Send us an STL file, a sketch or reference images, plus your measurements. We'll recommend a material, split large pieces for printing, and quote it. You can get the parts raw for your own finishing, or ask about finishing.
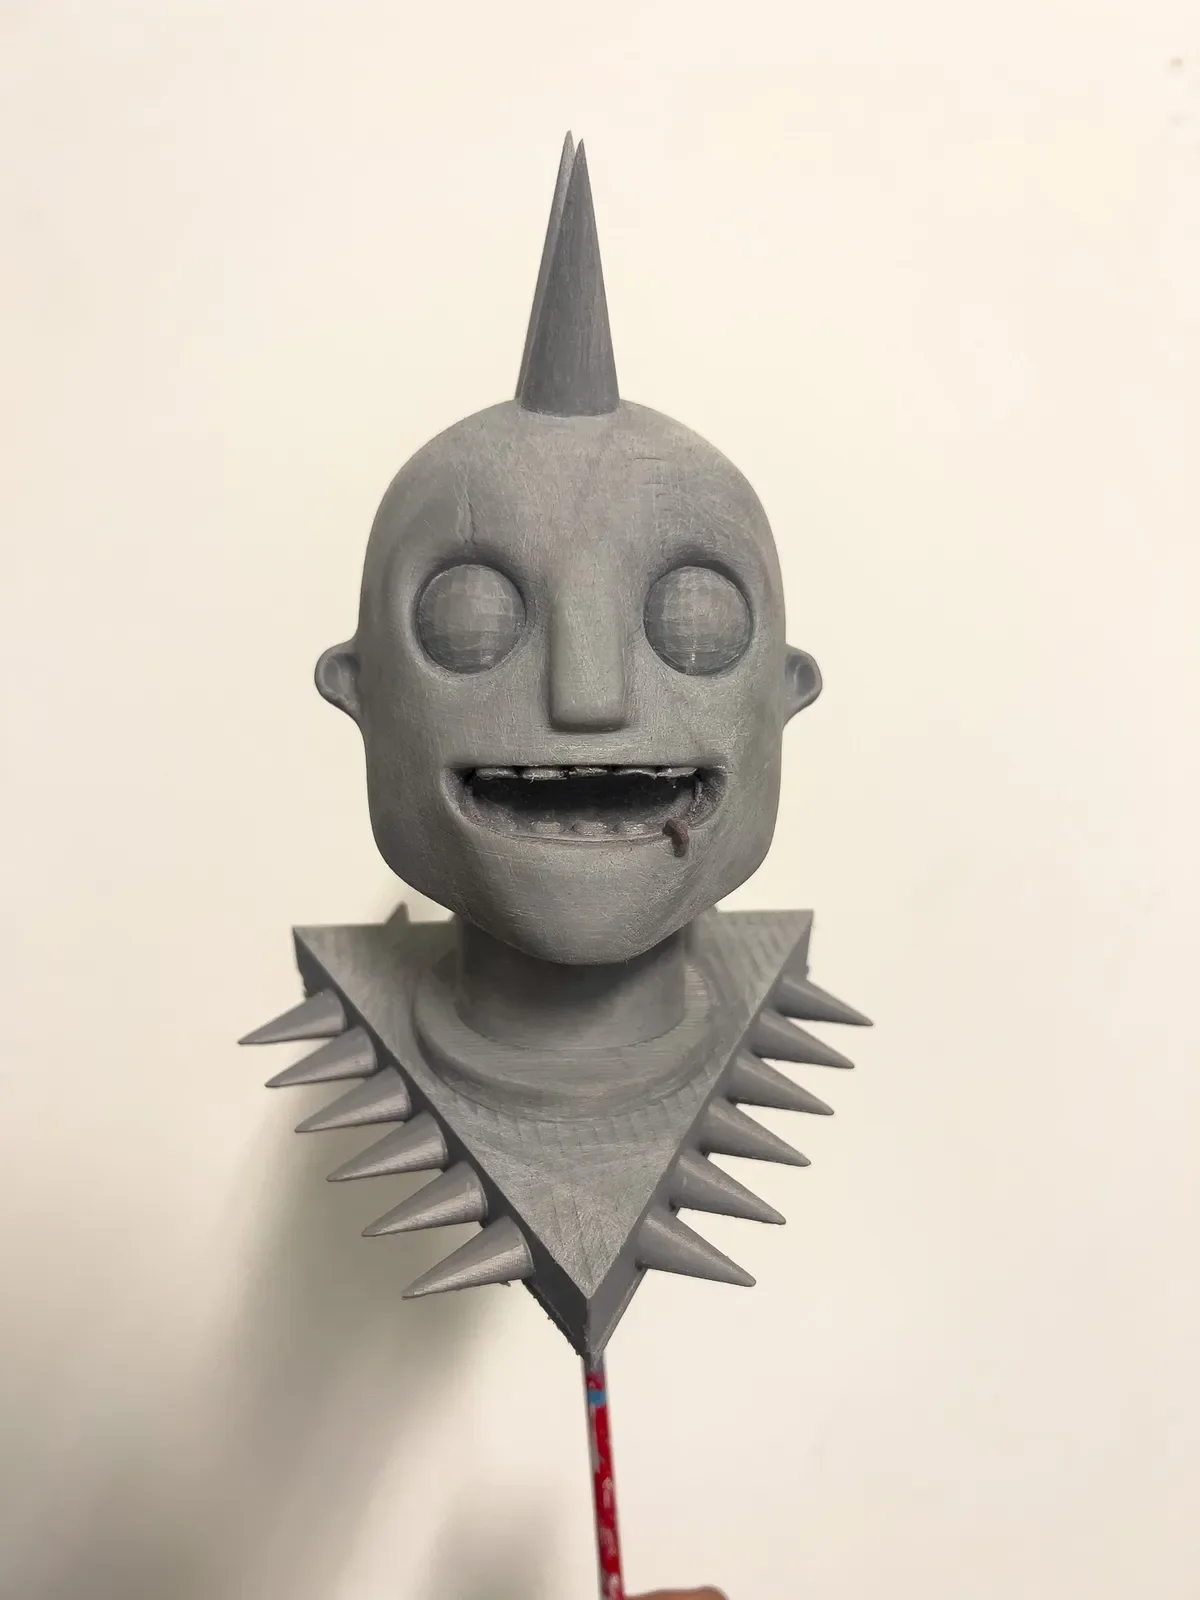
We also make original characters from your sketch. Every job is quoted individually, since price depends on size, material and print time.
Start your cosplay build
Send your file or idea, your measurements and your con date. We'll pick the right material and quote it.
Start a 3D project → See 3D printing →More guides