 Size guide
Picking a print size sounds simple until you realize your camera, your phone and the frame on your wall all disagree about shape. This guide covers the standard photo print sizes, what each one is good for, how many pixels you need to print it sharp, and why some sizes crop your image while others don't.
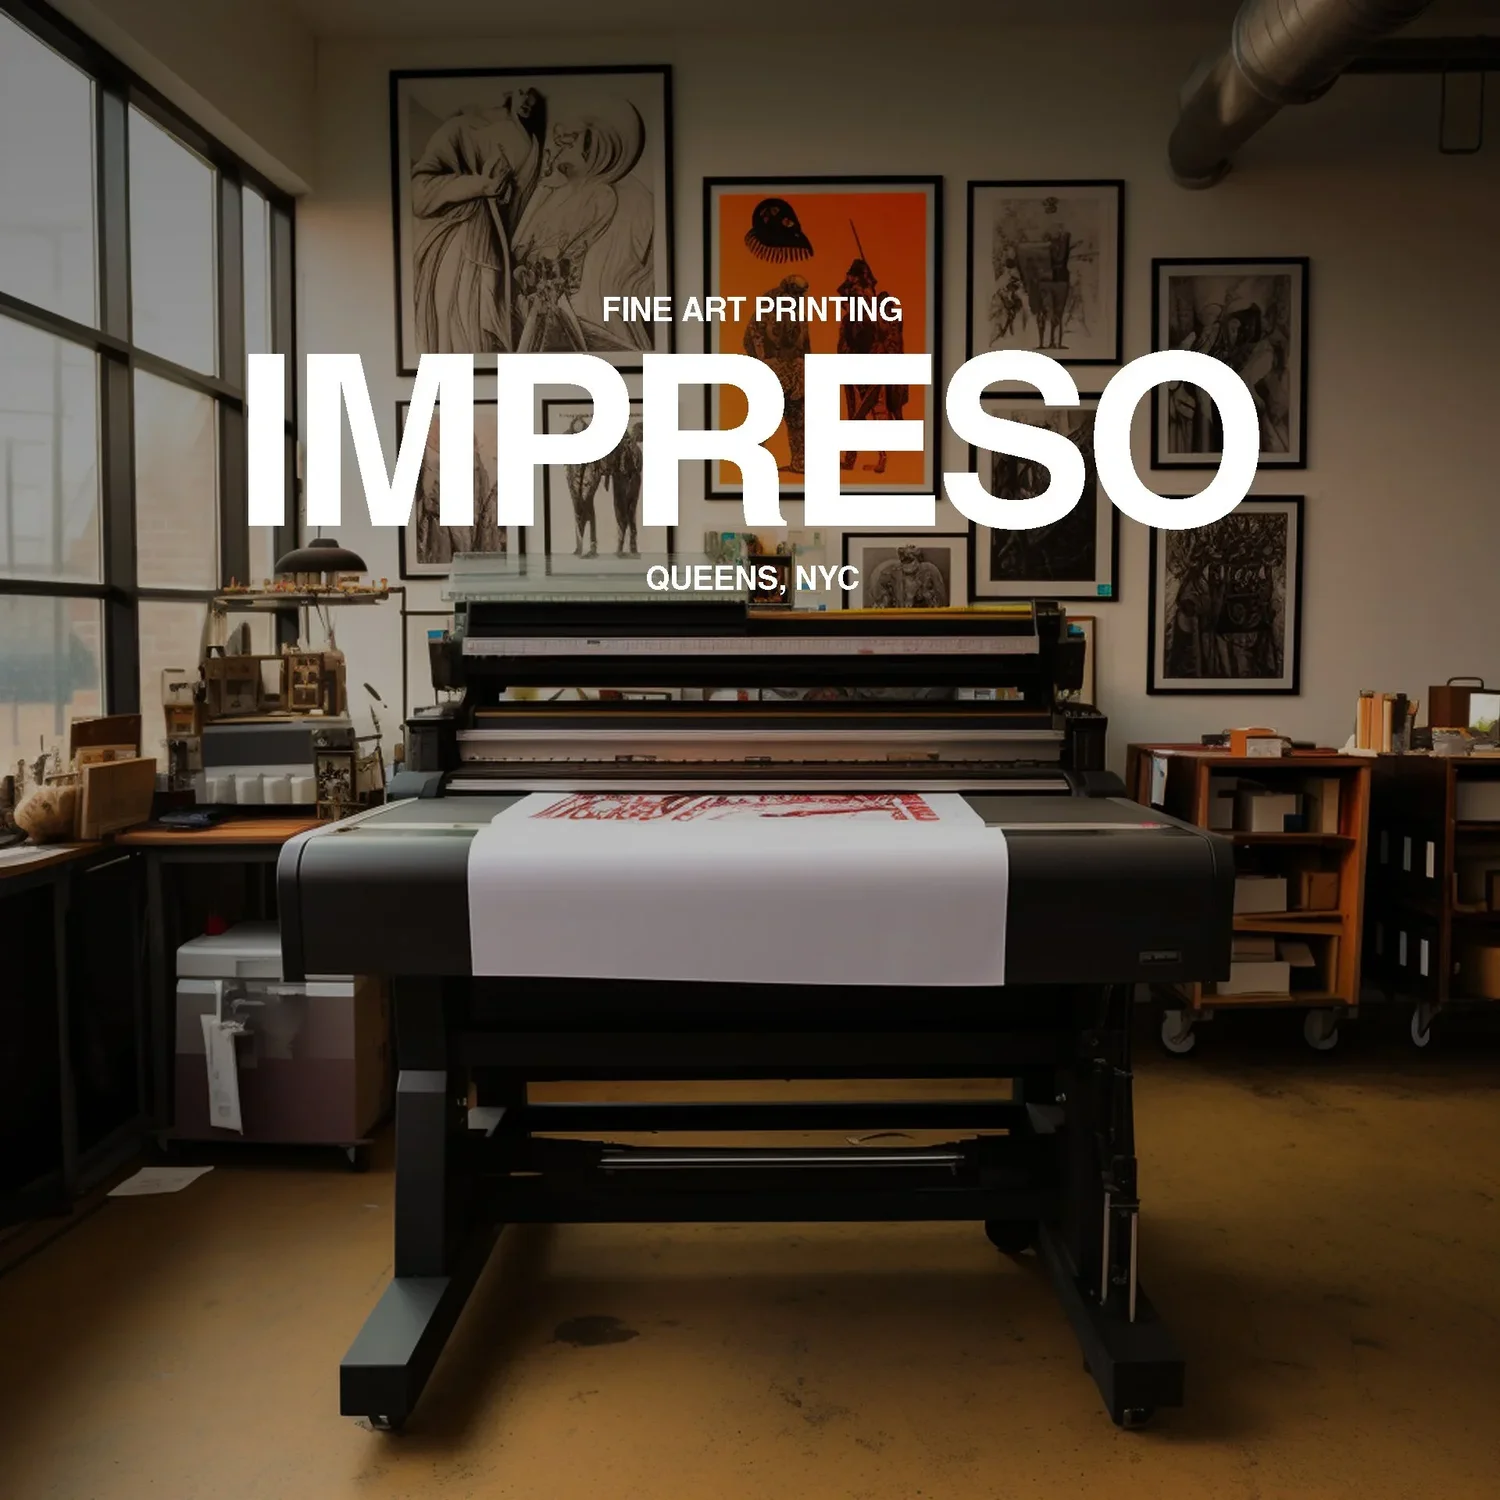
We print photographs for artists and photographers at our studio in Ridgewood, Queens, so this is the same advice we give people at the counter.
Quick answer
The short version
- Small prints: 4×6, 5×7 and 8×10 are the classic photo sizes for albums, desks and gifts.
- Medium prints: 11×14, 12×16 and 12×18 work for a wall in a hallway, office or bedroom.
- Large prints: 16×20, 18×24, 20×24, 24×36 and up are statement pieces over a sofa or bed.
- Shape matters more than size. If your image's aspect ratio doesn't match the print's, something gets cropped.
- 300 PPI is ideal, 200 PPI is usually fine for anything viewed from more than arm's length.
01
Standard photo print sizes at a glance
The table below lists the common sizes in inches, their aspect ratio, typical uses, and the pixel dimensions you need at 300 PPI (pixels per inch, the gold standard for close viewing) and 200 PPI (a solid minimum for wall prints). Megapixels are rounded.
| Print size (in) | Aspect ratio | Typical use | Pixels at 300 PPI | MP at 300 PPI | Pixels at 200 PPI | MP at 200 PPI |
|---|---|---|---|---|---|---|
| 4×6 | 3:2 | Snapshots, albums | 1200×1800 | 2.2 | 800×1200 | 1.0 |
| 5×7 | 7:5 | Cards, desk frames | 1500×2100 | 3.2 | 1000×1400 | 1.4 |
| 8×10 | 5:4 | Portraits, gifts, small frames | 2400×3000 | 7.2 | 1600×2000 | 3.2 |
| 8.5×11 | 17:22 (letter) | Portfolios, art prints | 2550×3300 | 8.4 | 1700×2200 | 3.7 |
| 10×12 | 6:5 | Small wall art | 3000×3600 | 10.8 | 2000×2400 | 4.8 |
| 11×14 | 14:11 | Matted wall art, gallery sets | 3300×4200 | 13.9 | 2200×2800 | 6.2 |
| 12×16 | 4:3 | Phone photos, small posters | 3600×4800 | 17.3 | 2400×3200 | 7.7 |
| 12×18 | 3:2 | Full-frame camera images | 3600×5400 | 19.4 | 2400×3600 | 8.6 |
| 16×20 | 5:4 | Classic wall portrait | 4800×6000 | 28.8 | 3200×4000 | 12.8 |
| 18×24 | 4:3 | Posters, large art | 5400×7200 | 38.9 | 3600×4800 | 17.3 |
| 20×24 | 6:5 | Large fine art | 6000×7200 | 43.2 | 4000×4800 | 19.2 |
| 20×30 | 3:2 | Large camera images | 6000×9000 | 54.0 | 4000×6000 | 24.0 |
| 24×24 | 1:1 | Square formats, Instagram-era work | 7200×7200 | 51.8 | 4800×4800 | 23.0 |
| 24×32 | 4:3 | Large phone or medium format images | 7200×9600 | 69.1 | 4800×6400 | 30.7 |
| 24×36 | 3:2 | Large posters, statement prints | 7200×10800 | 77.8 | 4800×7200 | 34.6 |
To work this out for any size yourself, multiply each side in inches by the PPI you want. A 16×20 at 300 PPI is 16 × 300 = 4800 pixels by 20 × 300 = 6000 pixels.
02
What PPI actually means for your print
PPI is how many image pixels land on each inch of paper. More pixels per inch means finer detail.
- 300 PPI holds up to nose-to-the-paper inspection. Aim for it with small prints and anything people will hold in their hands.
- 200 to 250 PPI looks sharp on a wall at normal viewing distance. Most people can't tell the difference from 300 once the print is framed.
- Below 150 PPI you start to see softness, jagged edges and blocky gradients, especially in skies and skin.
The bigger the print, the further away people stand, which is why a 24×36 at 200 PPI can look excellent while a 4×6 at 200 PPI looks slightly soft in your hand.
One thing that won't help: changing the "DPI" number in an image's metadata without adding pixels. That just relabels the file. What matters is the actual pixel count.
03
Aspect ratio: why your photo gets cropped
Aspect ratio is the relationship between an image's width and height. Different devices shoot in different shapes:
- Most DSLRs and mirrorless cameras: 3:2
- Most phones and Micro Four Thirds cameras: 4:3
- Square crops: 1:1
- Phone video stills and some panoramas: 16:9 or wider
A print size only fits your image without cropping when the ratios match. Look at the table: 4×6, 12×18, 20×30 and 24×36 are all 3:2, so a camera image drops straight in. 12×16, 18×24 and 24×32 are 4:3, a natural fit for phone photos.
Example: a 3:2 camera image on an 8×10
An 8×10 is a 5:4 ratio, which is much squarer than a 3:2 photo. If you scale a 3:2 image so its short side fills 8 inches, the long side becomes 12 inches. The print is only 10 inches long, so 2 inches have to go, usually 1 inch from each end.
In pixel terms, a 6000×4000 file cropped to 5:4 keeps 5000×4000. You lose about one sixth of the image along the long edge. That's fine for a centered portrait, and a problem for a group shot where someone is standing at the edge.
Your options when ratios don't match
- Crop on purpose. Choose what goes, rather than letting a default center crop decide.
- Pick a matching size. If you shoot 3:2, look at 12×18 or 24×36. If you shoot on a phone, look at 12×16 or 18×24.
- Add a border. Print the full image smaller on the sheet and leave white paper around it. This also looks good in a frame without a mat.
Our free "check your file" preview on the order page shows exactly how your image crops on each size, along with the effective PPI, before you pay for anything. You can build your print here and switch sizes to compare.
04
How to choose a size
Start with the space, then work back to the file.
- Measure the wall. A common rule of thumb is that art over furniture should be roughly two thirds the width of the piece below it.
- Think about framing. Standard sizes like 8×10, 11×14, 16×20 and 24×36 fit off-the-shelf frames. Odd sizes usually need custom framing.
- Check your resolution. Use the table above. If your file only supports 11×14 at 200 PPI, a 24×36 will look soft.
- Match the shape. Pick a size close to your image's ratio to keep cropping to a minimum.
- Consider a series. For a gallery wall, using the same size and paper across several prints makes the set feel deliberate.
05
Phone photos: how big can you go?
Recent phones commonly produce 12 megapixel images (about 4032×3024 pixels) by default, with some models offering higher resolution modes. A 12 MP 4:3 file prints:
- About 10×13 inches at 300 PPI
- About 15×20 inches at 200 PPI
So a 12×16 or even an 18×24 from a sharp, well-lit phone photo is realistic. Night shots and heavily zoomed images hold up less well, since the detail just isn't there.
06
The sizes we print at IMPRESO
We print fine art giclée photographs on Epson Signature Worthy papers with Epson UltraChrome HDR pigment inks, and every print is checked by hand in our Ridgewood studio. Our standard sizes are:
| Size | Ratio | Ultra Premium Luster | Hot Press | Cold Press |
|---|---|---|---|---|
| 8×10 | 5:4 | $30 | $35 | $40 |
| 8.5×11 | Letter | $30 | $35 | $40 |
| 10×12 | 6:5 | $35 | $40 | $45 |
| 11×14 | 14:11 | $40 | $45 | $50 |
| 12×16 | 4:3 | $45 | $50 | $55 |
| 16×20 | 5:4 | $60 | $70 | $75 |
| 18×24 | 4:3 | $70 | $85 | $90 |
| 20×24 | 6:5 | $80 | $90 | $100 |
| 24×24 | 1:1 | $90 | $100 | $110 |
| 24×32 | 4:3 | $110 | $125 | $135 |
| 24×36 | 3:2 | $125 | $140 | $150 |
For photographs, Ultra Premium Luster is usually the right call: a semi-gloss surface with deep blacks and a wide color range. If you need a size that isn't listed, we print custom sizes up to 24 inches wide by quote. Volume discounts, rush options and add-ons like color correction are on our pricing page.
07
Quick checklist before you order
- Export at full resolution, not a compressed copy from messaging apps or social media.
- Check the pixel dimensions against the table for your size.
- Match the aspect ratio, or decide on your crop.
- Use sRGB or Adobe RGB and embed the profile.
- If color is critical, order a proof first.
Ready to print?
Upload your file and the preview will show you the crop and resolution for every size before you commit. There's no minimum order, turnaround is 3 to 5 business days, and you can pick up free at our studio in Ridgewood, Queens or have it shipped. Build your print and we'll take it from there.
Build your print → See giclée printing →More guides